Table of Contents [hide]
- Christmas Photography Tips and Checklist
- Christmas Photography Ideas and Tips
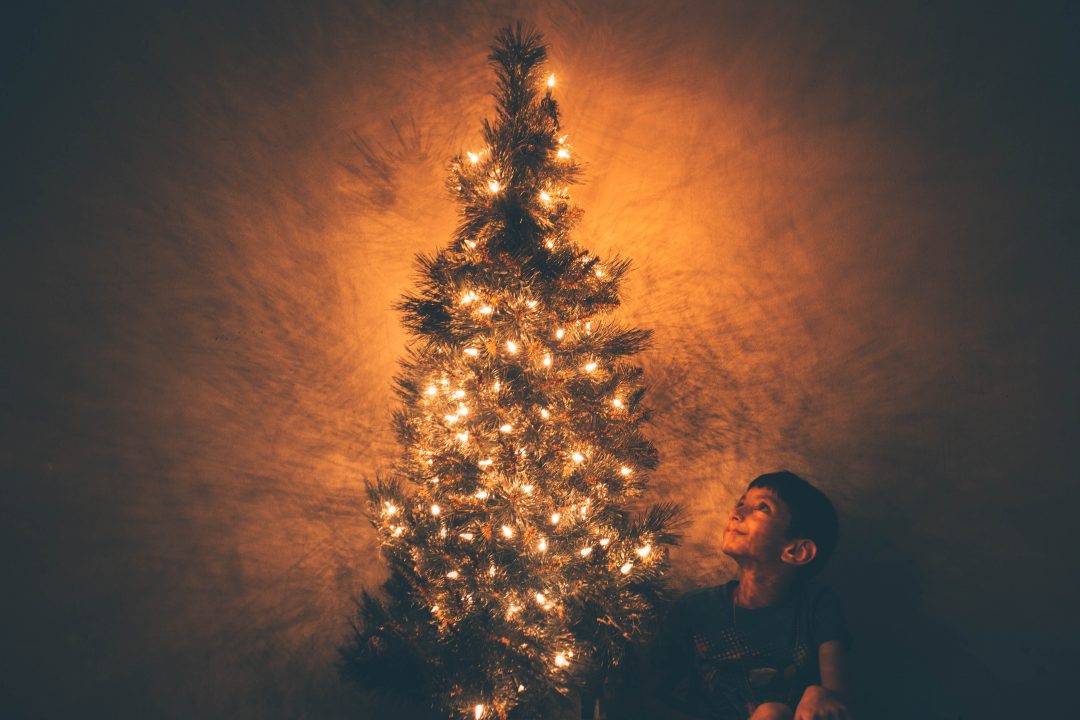
- Christmas lights
- Christmas decorations, inside and outside the house
- Kids with Santa
- Family traditions
- Kids’ Christmas craft
- The presents: before, during, and after the unwrapping
- Christmas dinner
- Family interaction
- Family portraits
- Camera tips:
- Set your White Balance
- Using high ISO when necessary is okay
- Use a tripod
Christmas Photography Tips and Checklist
Christmas is almost here!
With beautiful decorations, stunning lights, and happy family, the holidays provide us with many photo opportunities. There are many beautiful memories for us to capture, but things can get busy, so we thought we’d help you with a list of essential things to capture to make sure you don’t miss anything important.
We’ve compiled some ideas for great shots you should make, and some tips on how to ace these shots.
Christmas Photography Ideas and Tips
Christmas lights
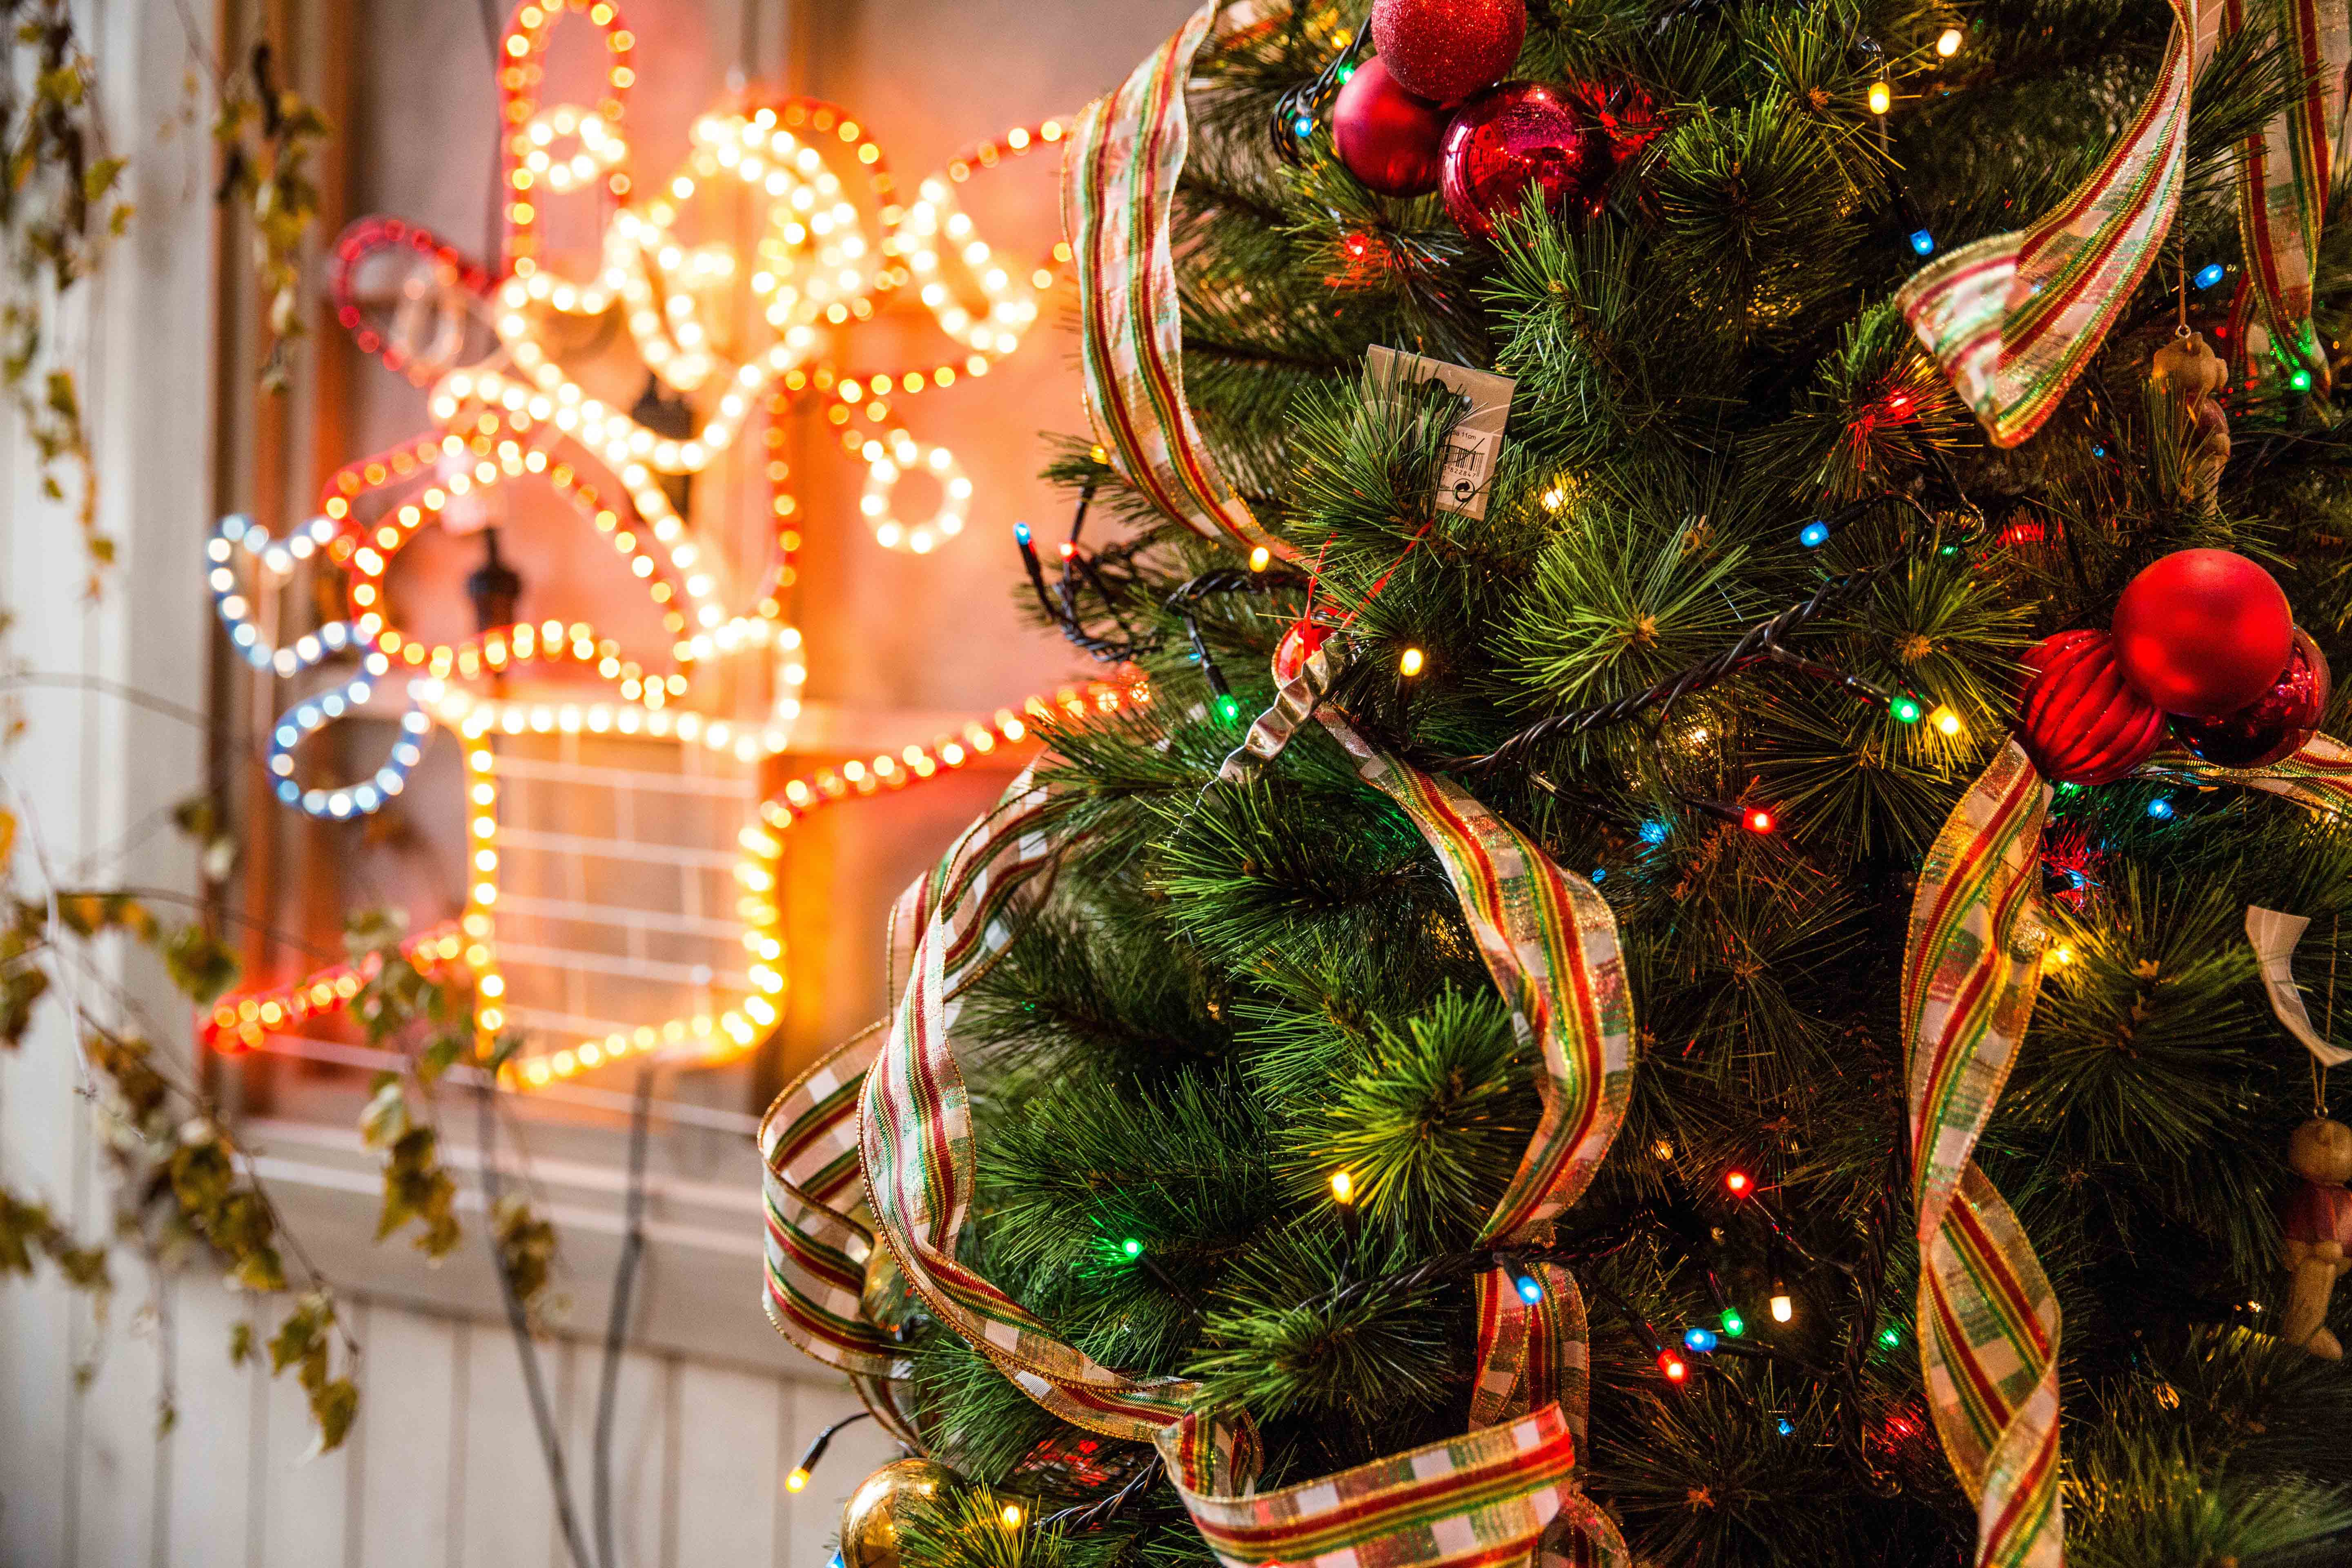
This one is obvious, but also very challenging to photograph. We shared low light photography tips a while ago, but for a quick summary, here are a few tips to capture stunning Christmas lights:
- Go for a wide aperture – the bigger, the better! f/1.8 or f/2.0 would be ideal, but if your lens can’t accommodate it, then choose the biggest aperture setting.
- Find the optimum shutter speed – Getting the right shutter speed is a difficult balance to strike. Too fast and you’ll get a dark image, too slow and you’ll get an overexposed image. Every condition is different, so experiment with the shutter speed to get the perfect one.
- Low ISO – keep it low (under 400) for high-quality photos
- Use a tripod – due to the low shutter speed, any photo taken without a tripod will just be blurry
- Consider using a timer or remote control to avoid shaking when pressing the shutter button, especially if the speed is really low
- Choose the right white balance setting – depending on your lights, your whole image can be affected by them. Choose the right white balance setting to see which one works best. Yellow fairy lights normally will create images that are too warm, so choose ‘tungsten’ for your white balance setting to balance out the color.
- Stay away from the flash – flash will only overpower the Christmas lights, and your photos will turn out dull and flat. If it’s too dark and you need more light, place an additional lamp outside the frame to help with the ambient light.
You can follow these easy steps to shoot Christmas tree lights.
Christmas decorations, inside and outside the house
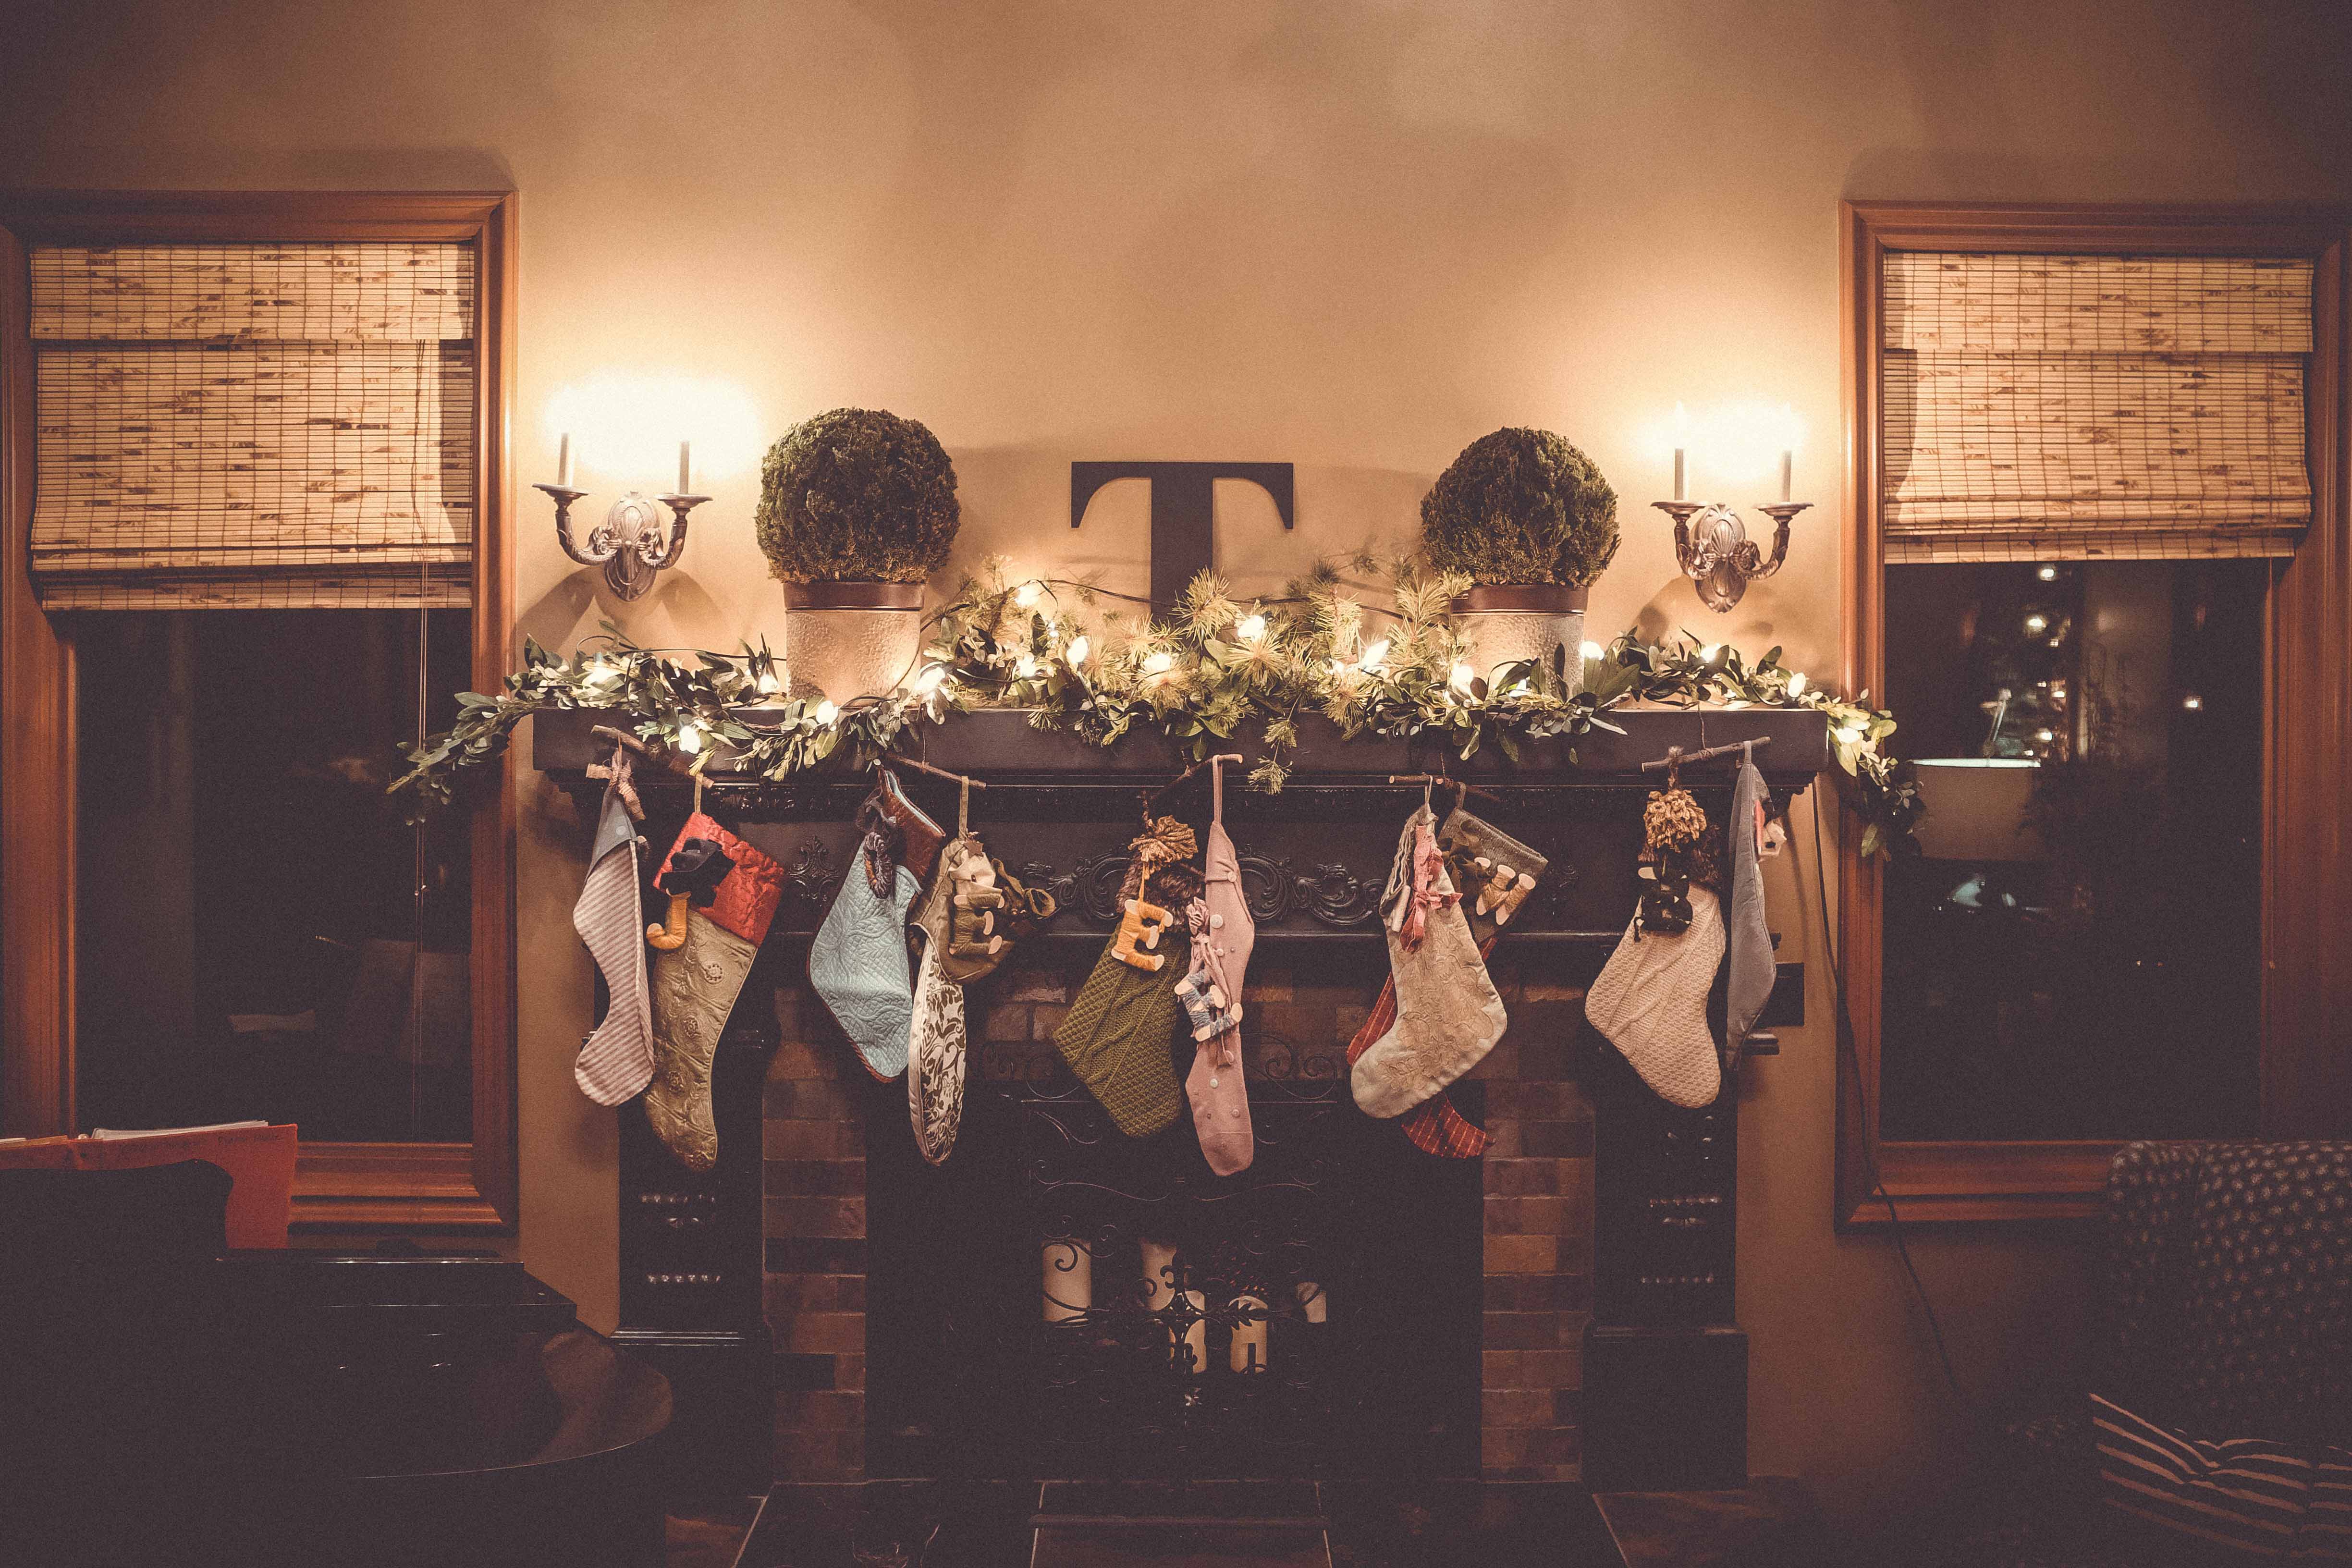
Christmas decorations are what really set the scene. After all your effort in sprucing up the house, make sure you document it! Christmas ornaments, the Christmas tree, and all the trinkets will be amazing to set the scene in your Christmas photos.
Tip: alternate between the wide and close-up shots, to capture the overall look and also the intricate details of the decoration.
Remember: the more creative your decoration is, the better photo album you’ll make after.
Kids with Santa
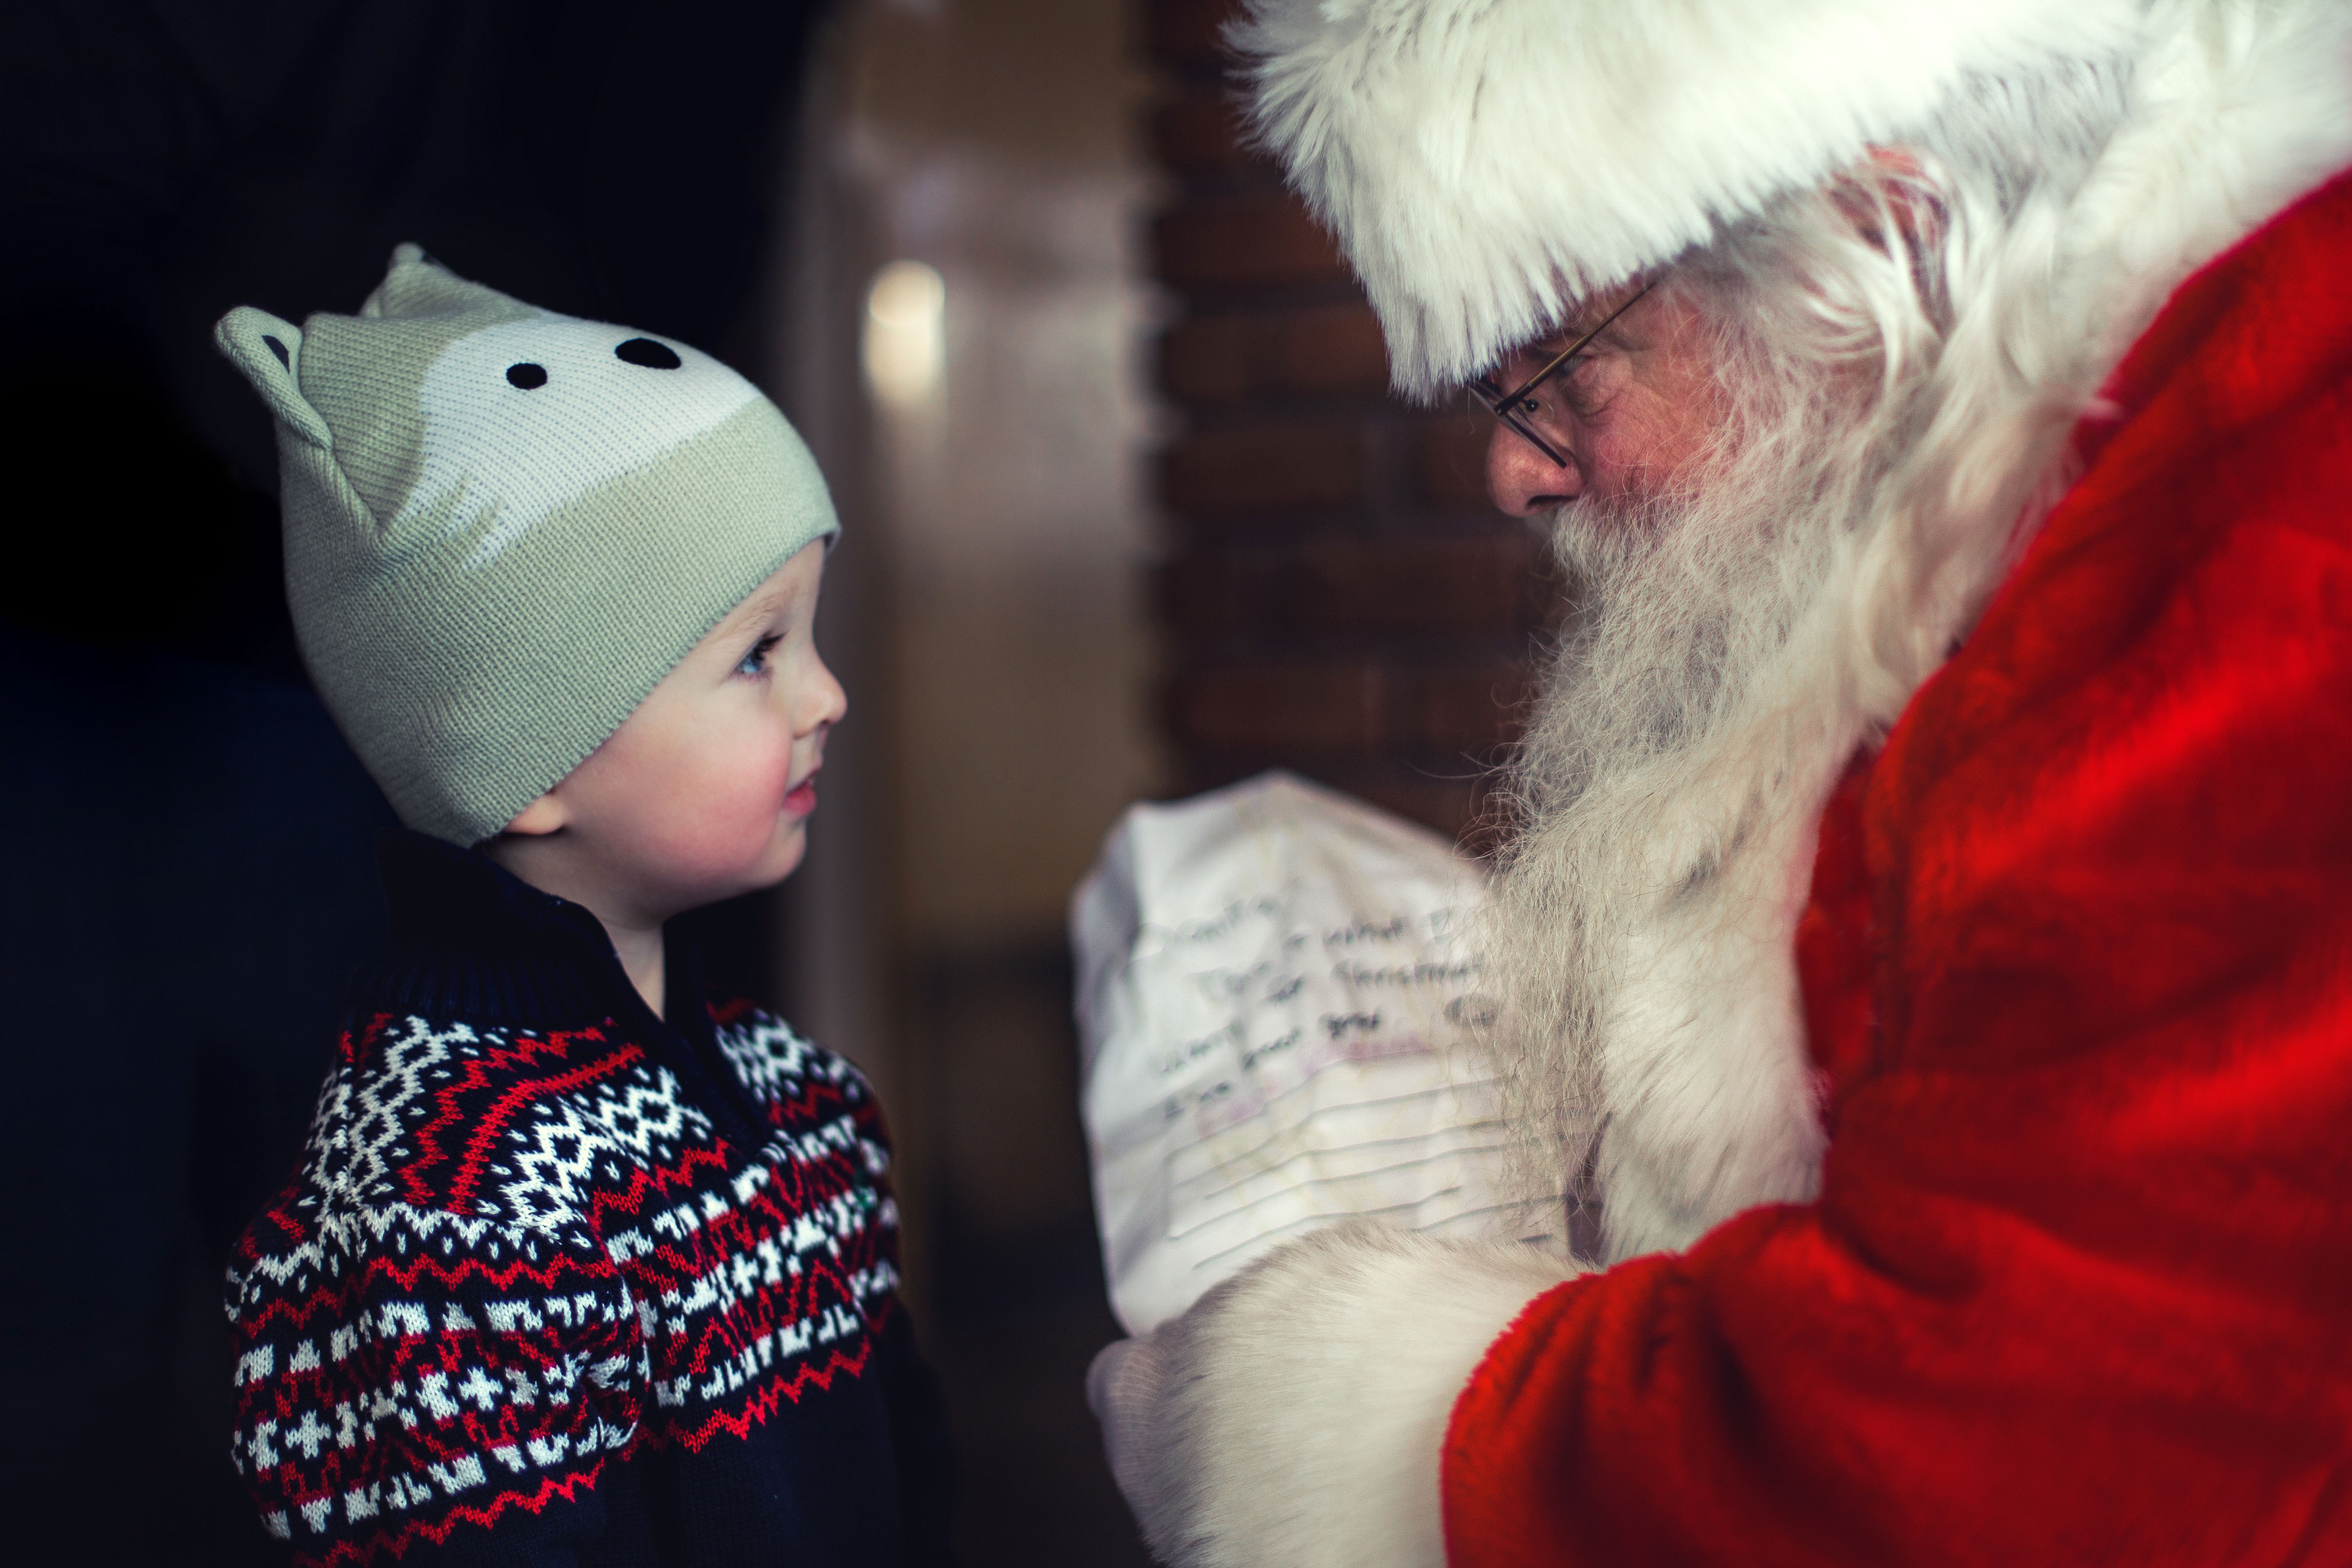
Don’t leave your camera at home when you bring your kids to meet Santa! Every kid reacts differently upon meeting Father Christmas; some squeal in delight while others might cry at the sight of this stranger. Capture your kids’ expressions and their interactions with Santa, and when they grow up, this could be something fun to talk about.
Tip: For this moment, increase your shutter speed to avoid blurry pictures, and focus on your kids’ expressions during their encounter with Santa.
Family traditions
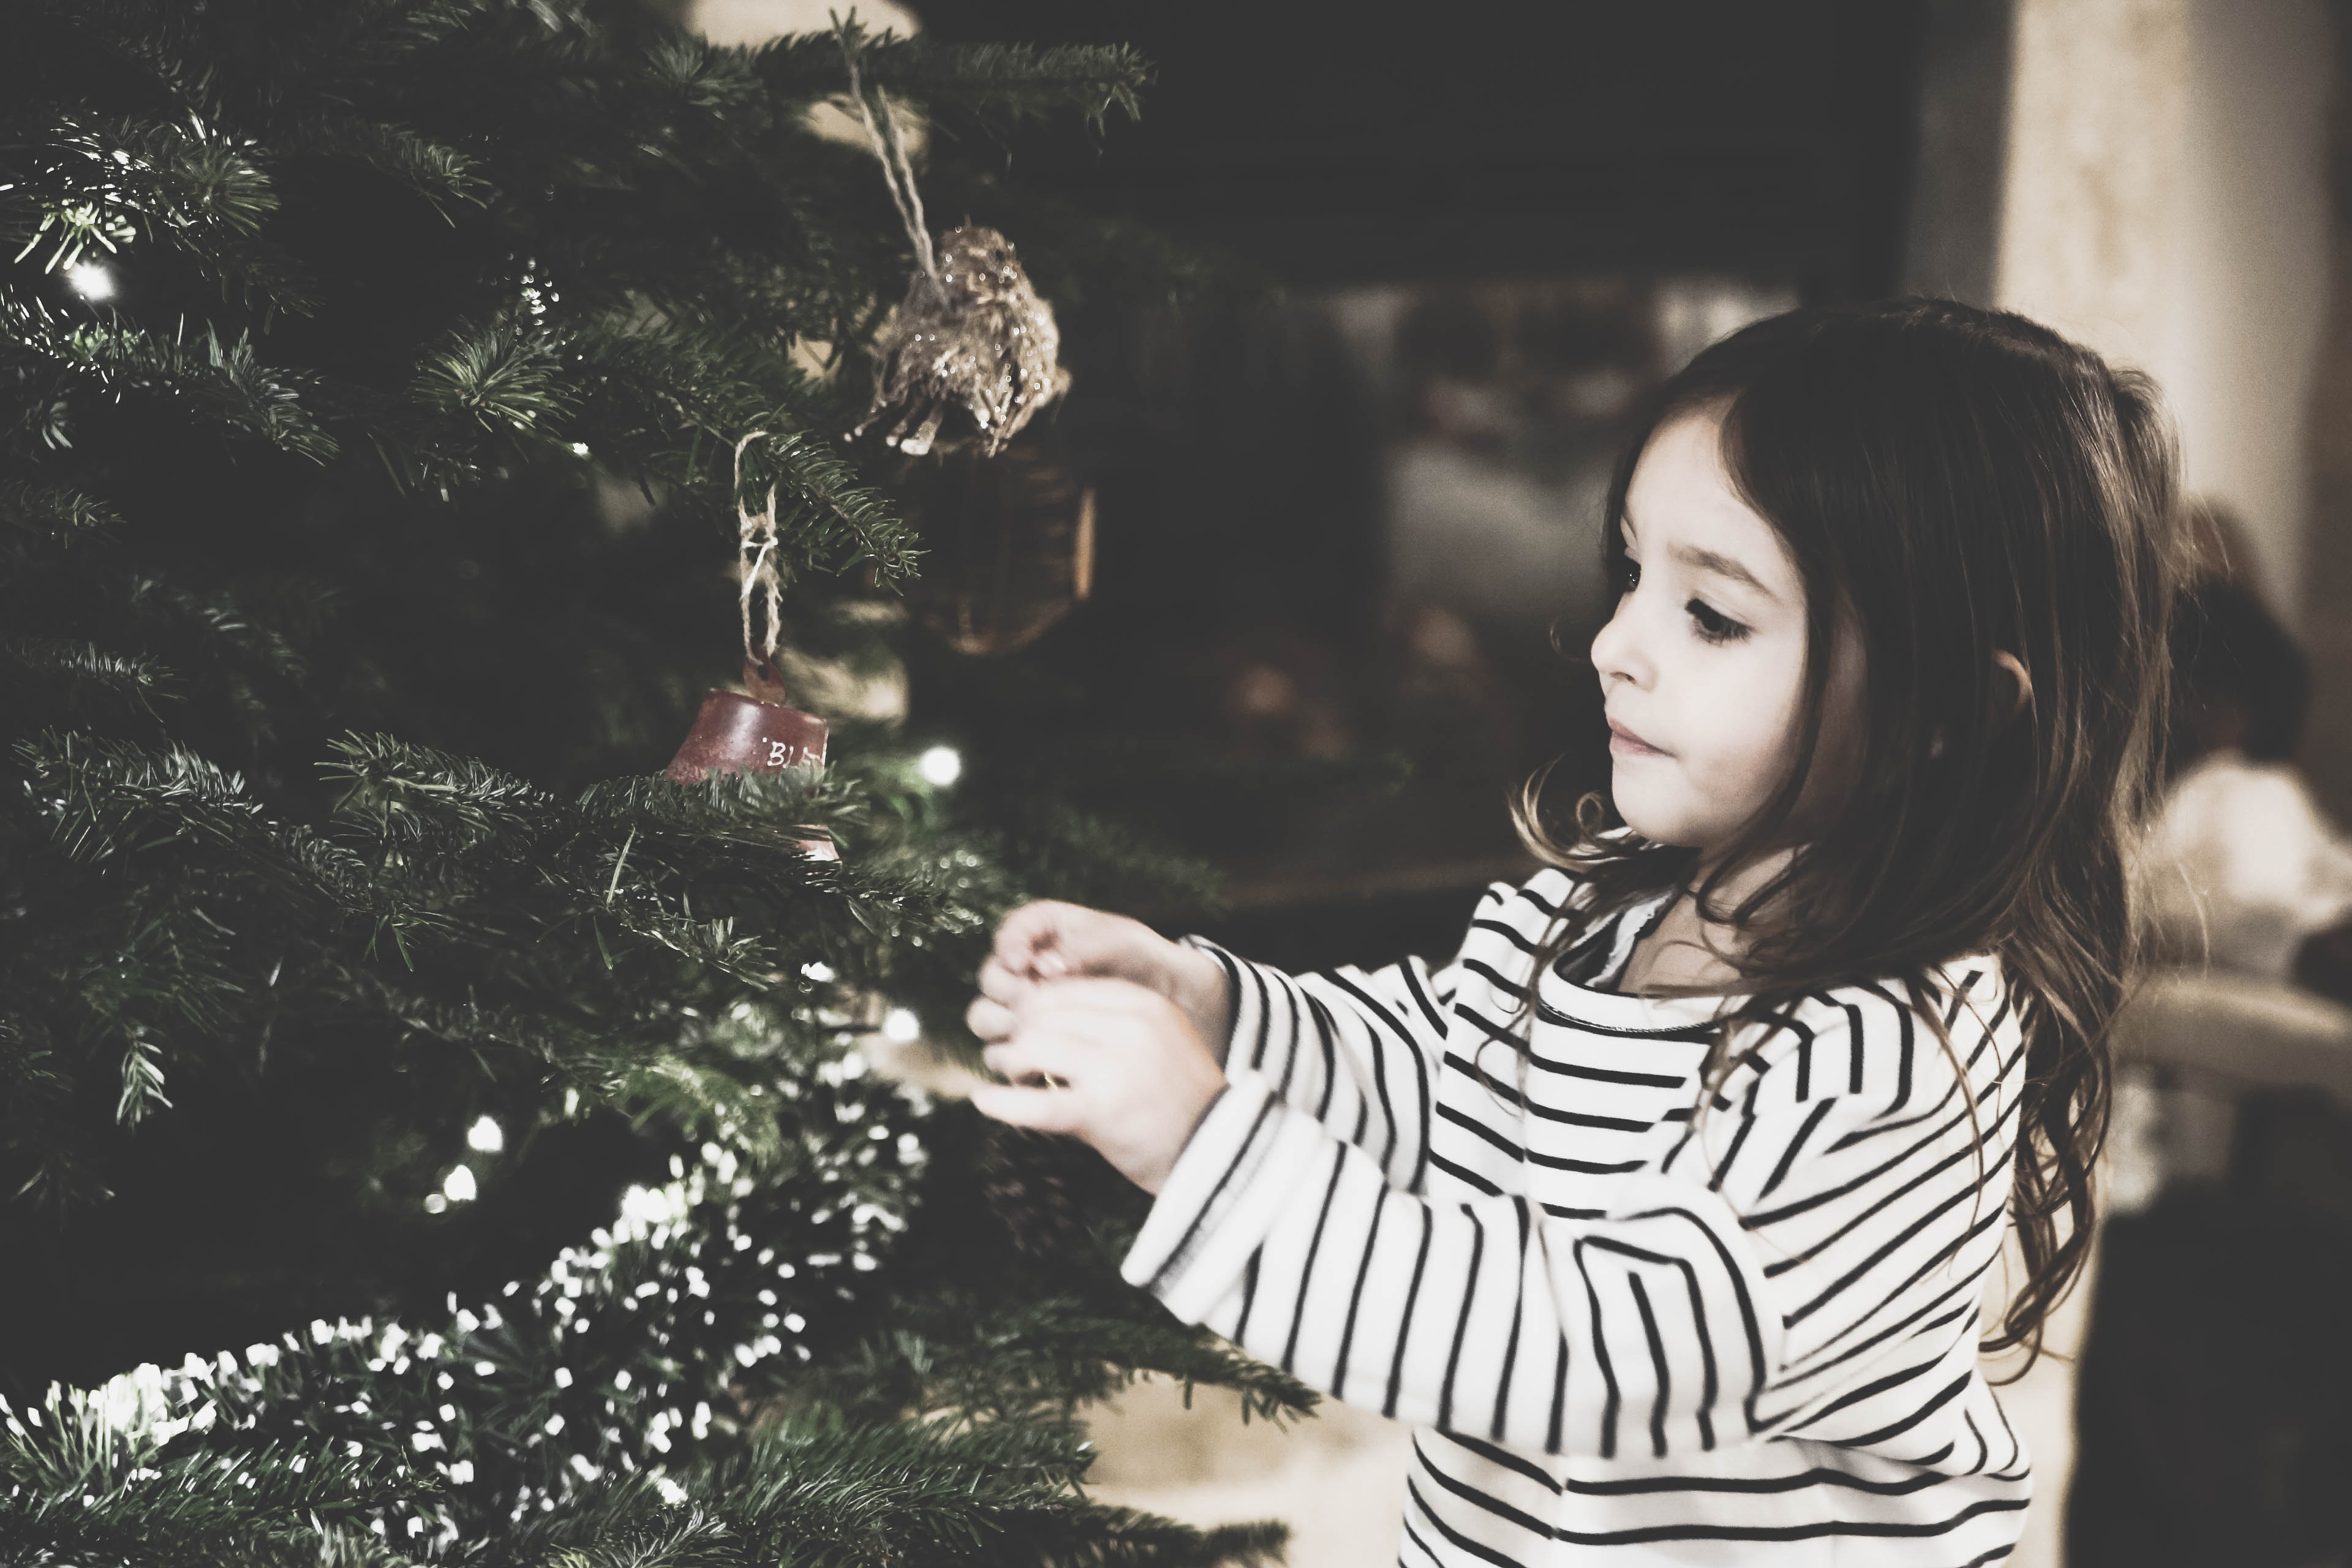
One of the best things about Christmas is the family traditions.
When your kids grow up, it’s the Christmas traditions at home that they will miss and look back on with such fondness. Make sure you document these traditions each year. Whether it’s baking cookies at home, writing letters to Santa, or watching Christmas movies, everything is worth capturing.
Your kids will grow up, and traditions might evolve over the years, but the photos will be there to keep the memories alive.
Kids’ Christmas craft
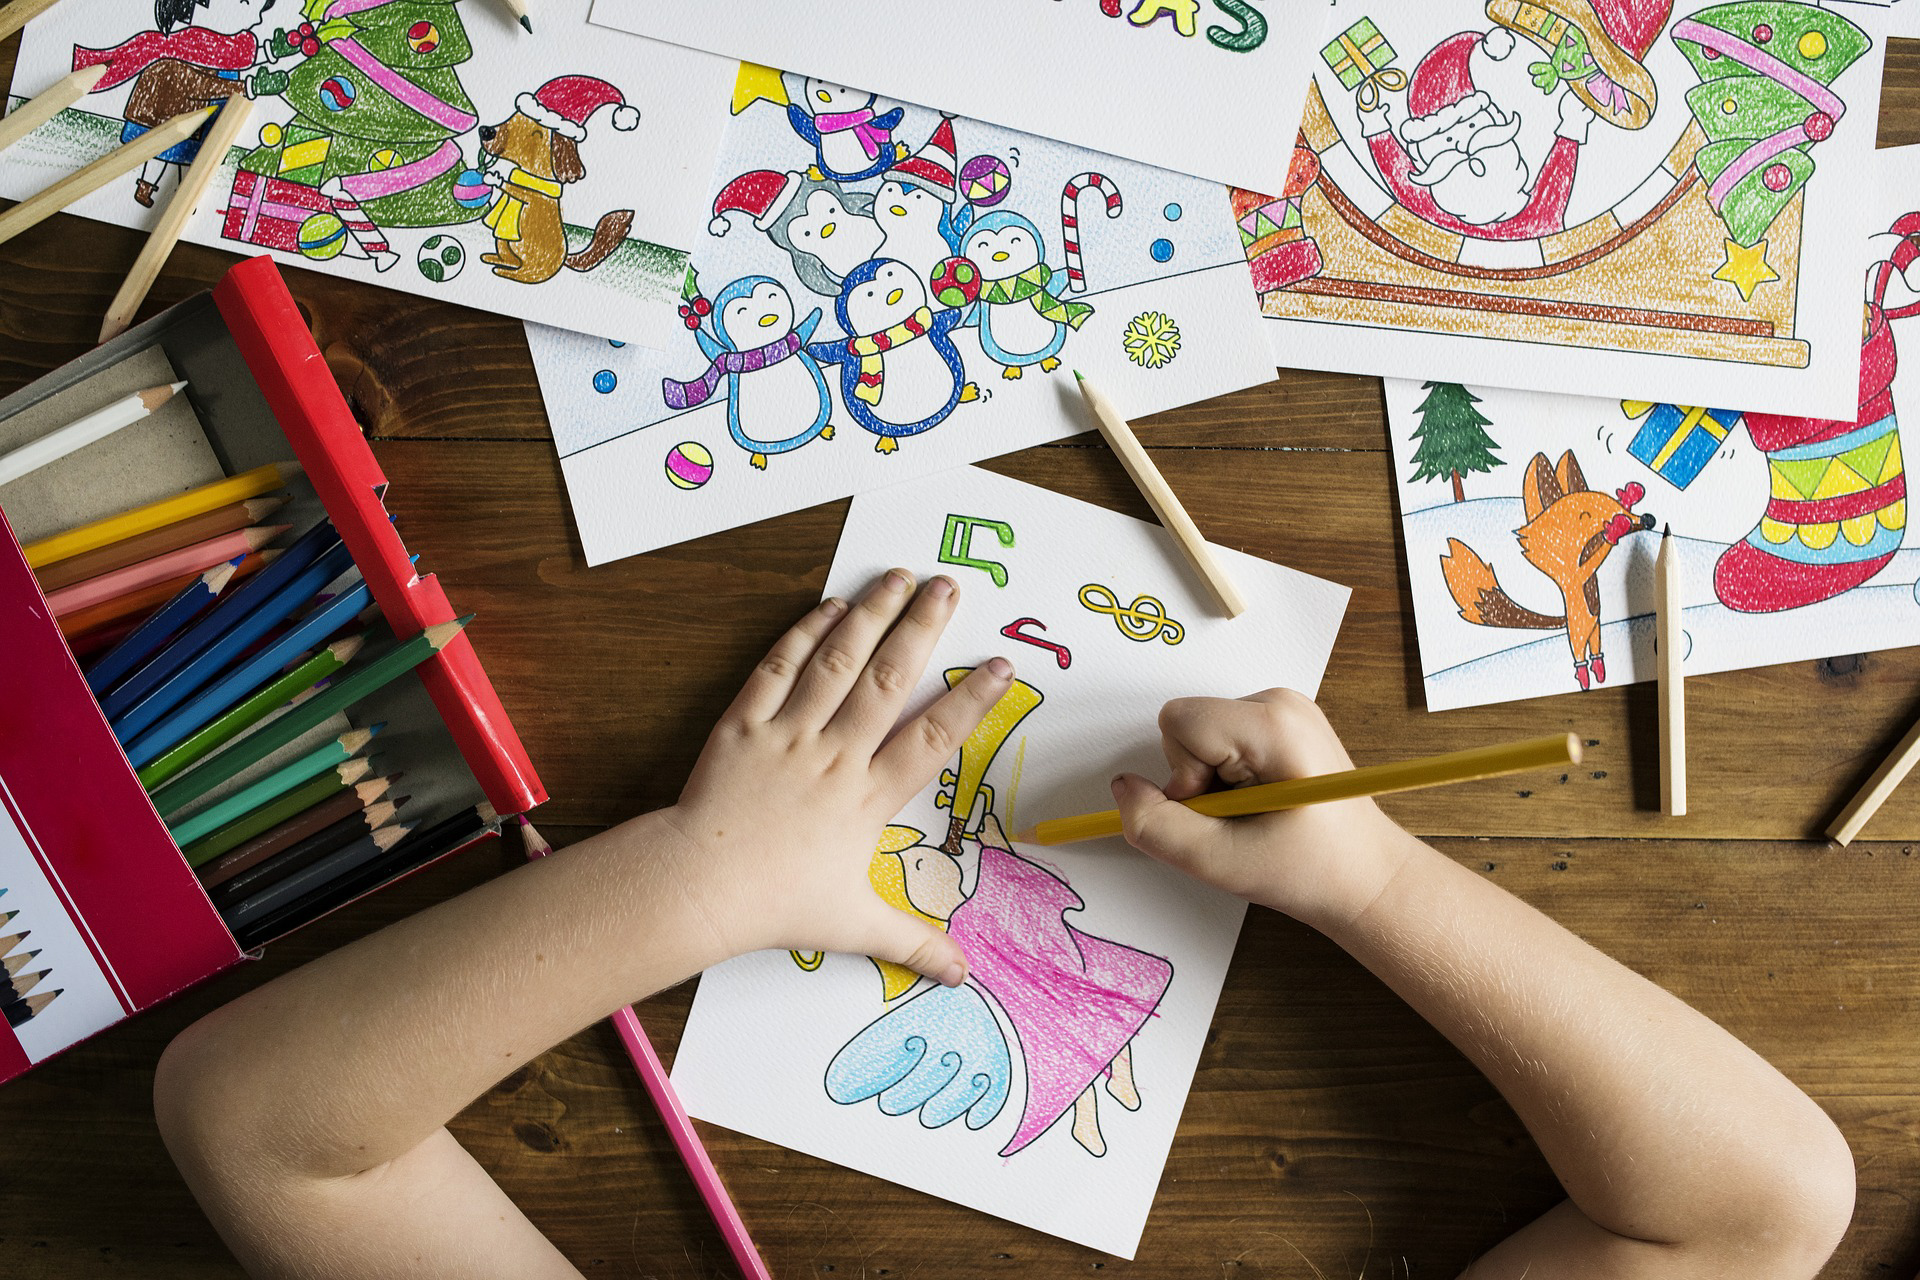
Christmas art projects for kids are such a good way to keep them entertained during the holiday, and also to get precious Christmas keepsakes from what they make. Make sure you capture the fun, chaos, and laughter during these activities, and also their artwork.
Tip: Don’t let your kids’ artwork get scattered or lost. Collect their artwork for this year and document it in a beautiful photo book maker that you can keep for years to come!
The presents: before, during, and after the unwrapping
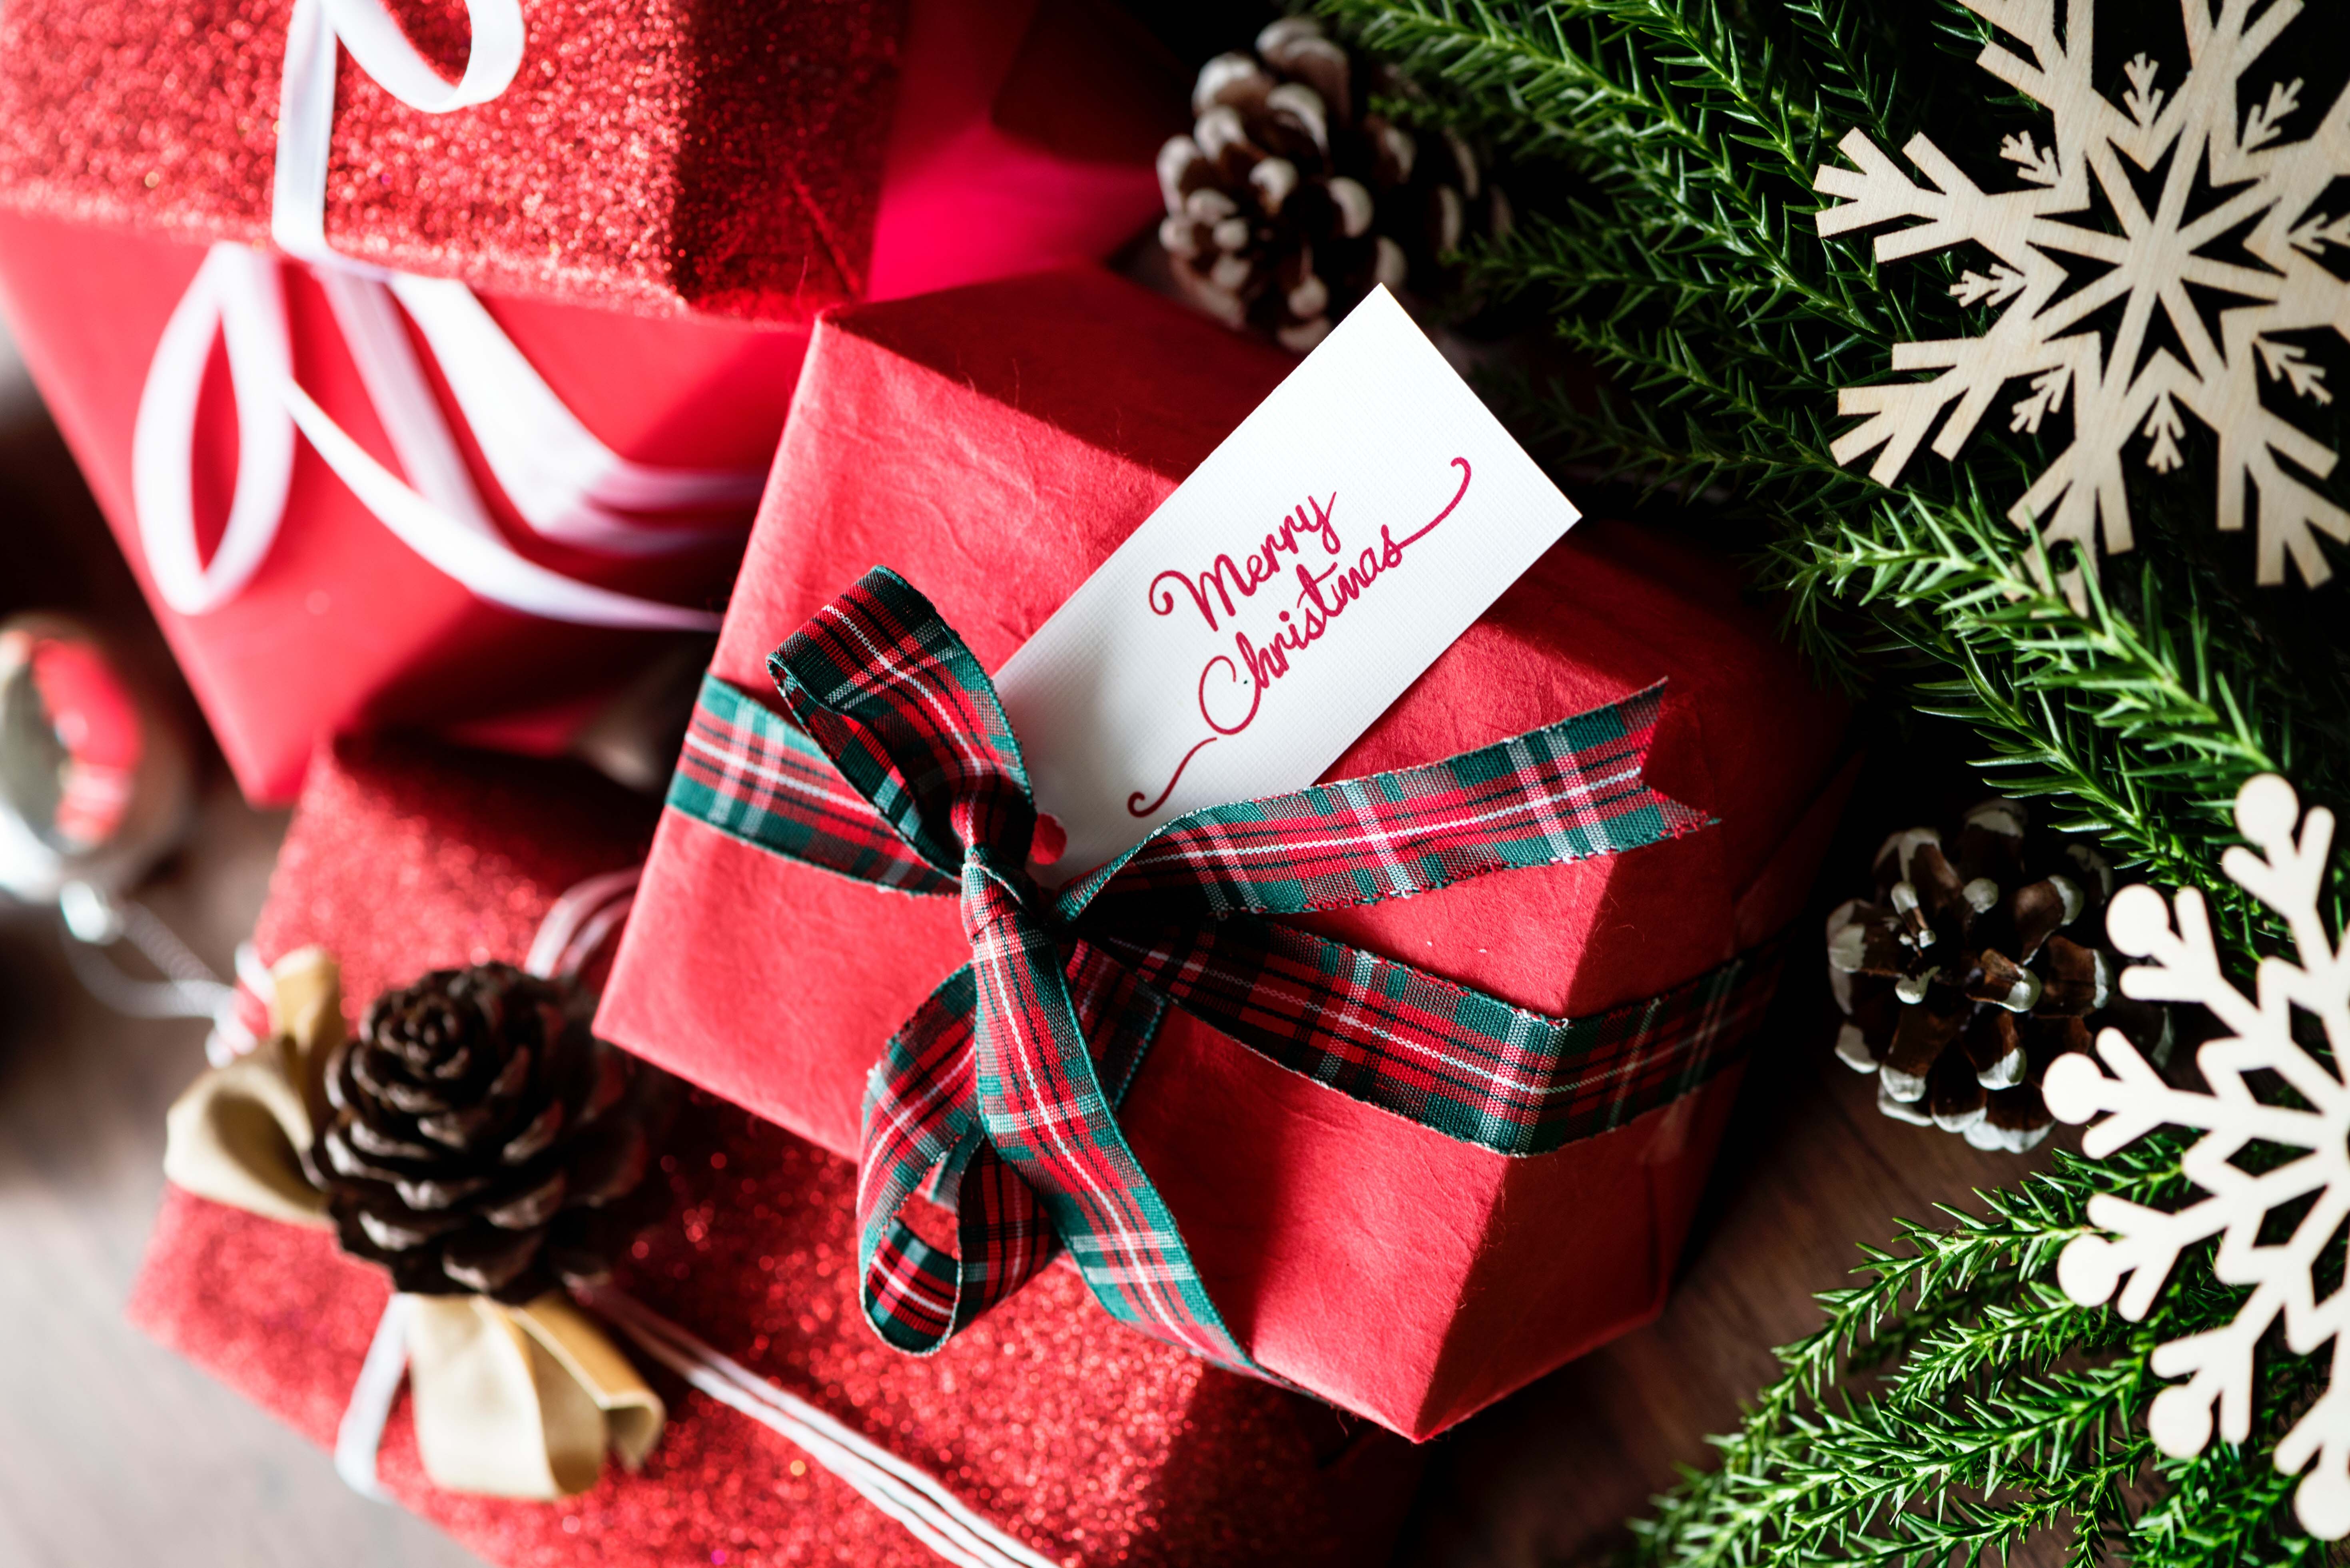
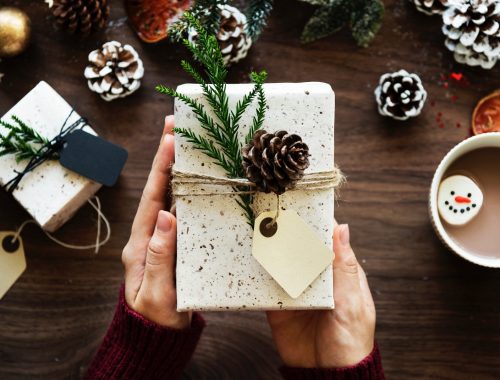
- Before – Get some good shots of the presents under the tree, when they’re still neatly wrapped and arranged.
- During the unwrapping – This is the most-awaited activity for kids, and perhaps for the adults as well. With the excitement and big smiles, you know this is something you can’t miss for your family photobook. The pure happiness in your family’s faces as they open their presents will be such good memories to keep.
- After – don’t put your camera away once all the presents are unwrapped. Shoot the aftermath, the chaos, and all the remnants of the wrapping paper. You don’t need too many closeup shots for this one, just the wide-angle ones to capture the scene.
Bear in mind that with the excitement of opening presents, things can go pretty quickly. Keep your finger on the shutter button, your camera set in Burst mode, and be ready to capture at any moment!
Here are a few things to look for when taking photos of your family unwrapping the presents:
- Closeups of facial expressions. Use a wide aperture to capture all the joy and smiles Ideally, f/2.8 or f/1.8 would be the perfect choice for this, but you could still get good images with an aperture up to f/4. One thing to note when capturing a face: keep the focus on the eye.
- Wide-angle shots to capture the scene, and to show the presents that induce such reactions. The most important part will always be the expressions when unwrapping the presents, but getting shots of the presents will also help to add details to the story. When capturing the scene, narrow the aperture to get sharp details in your images.
Christmas dinner
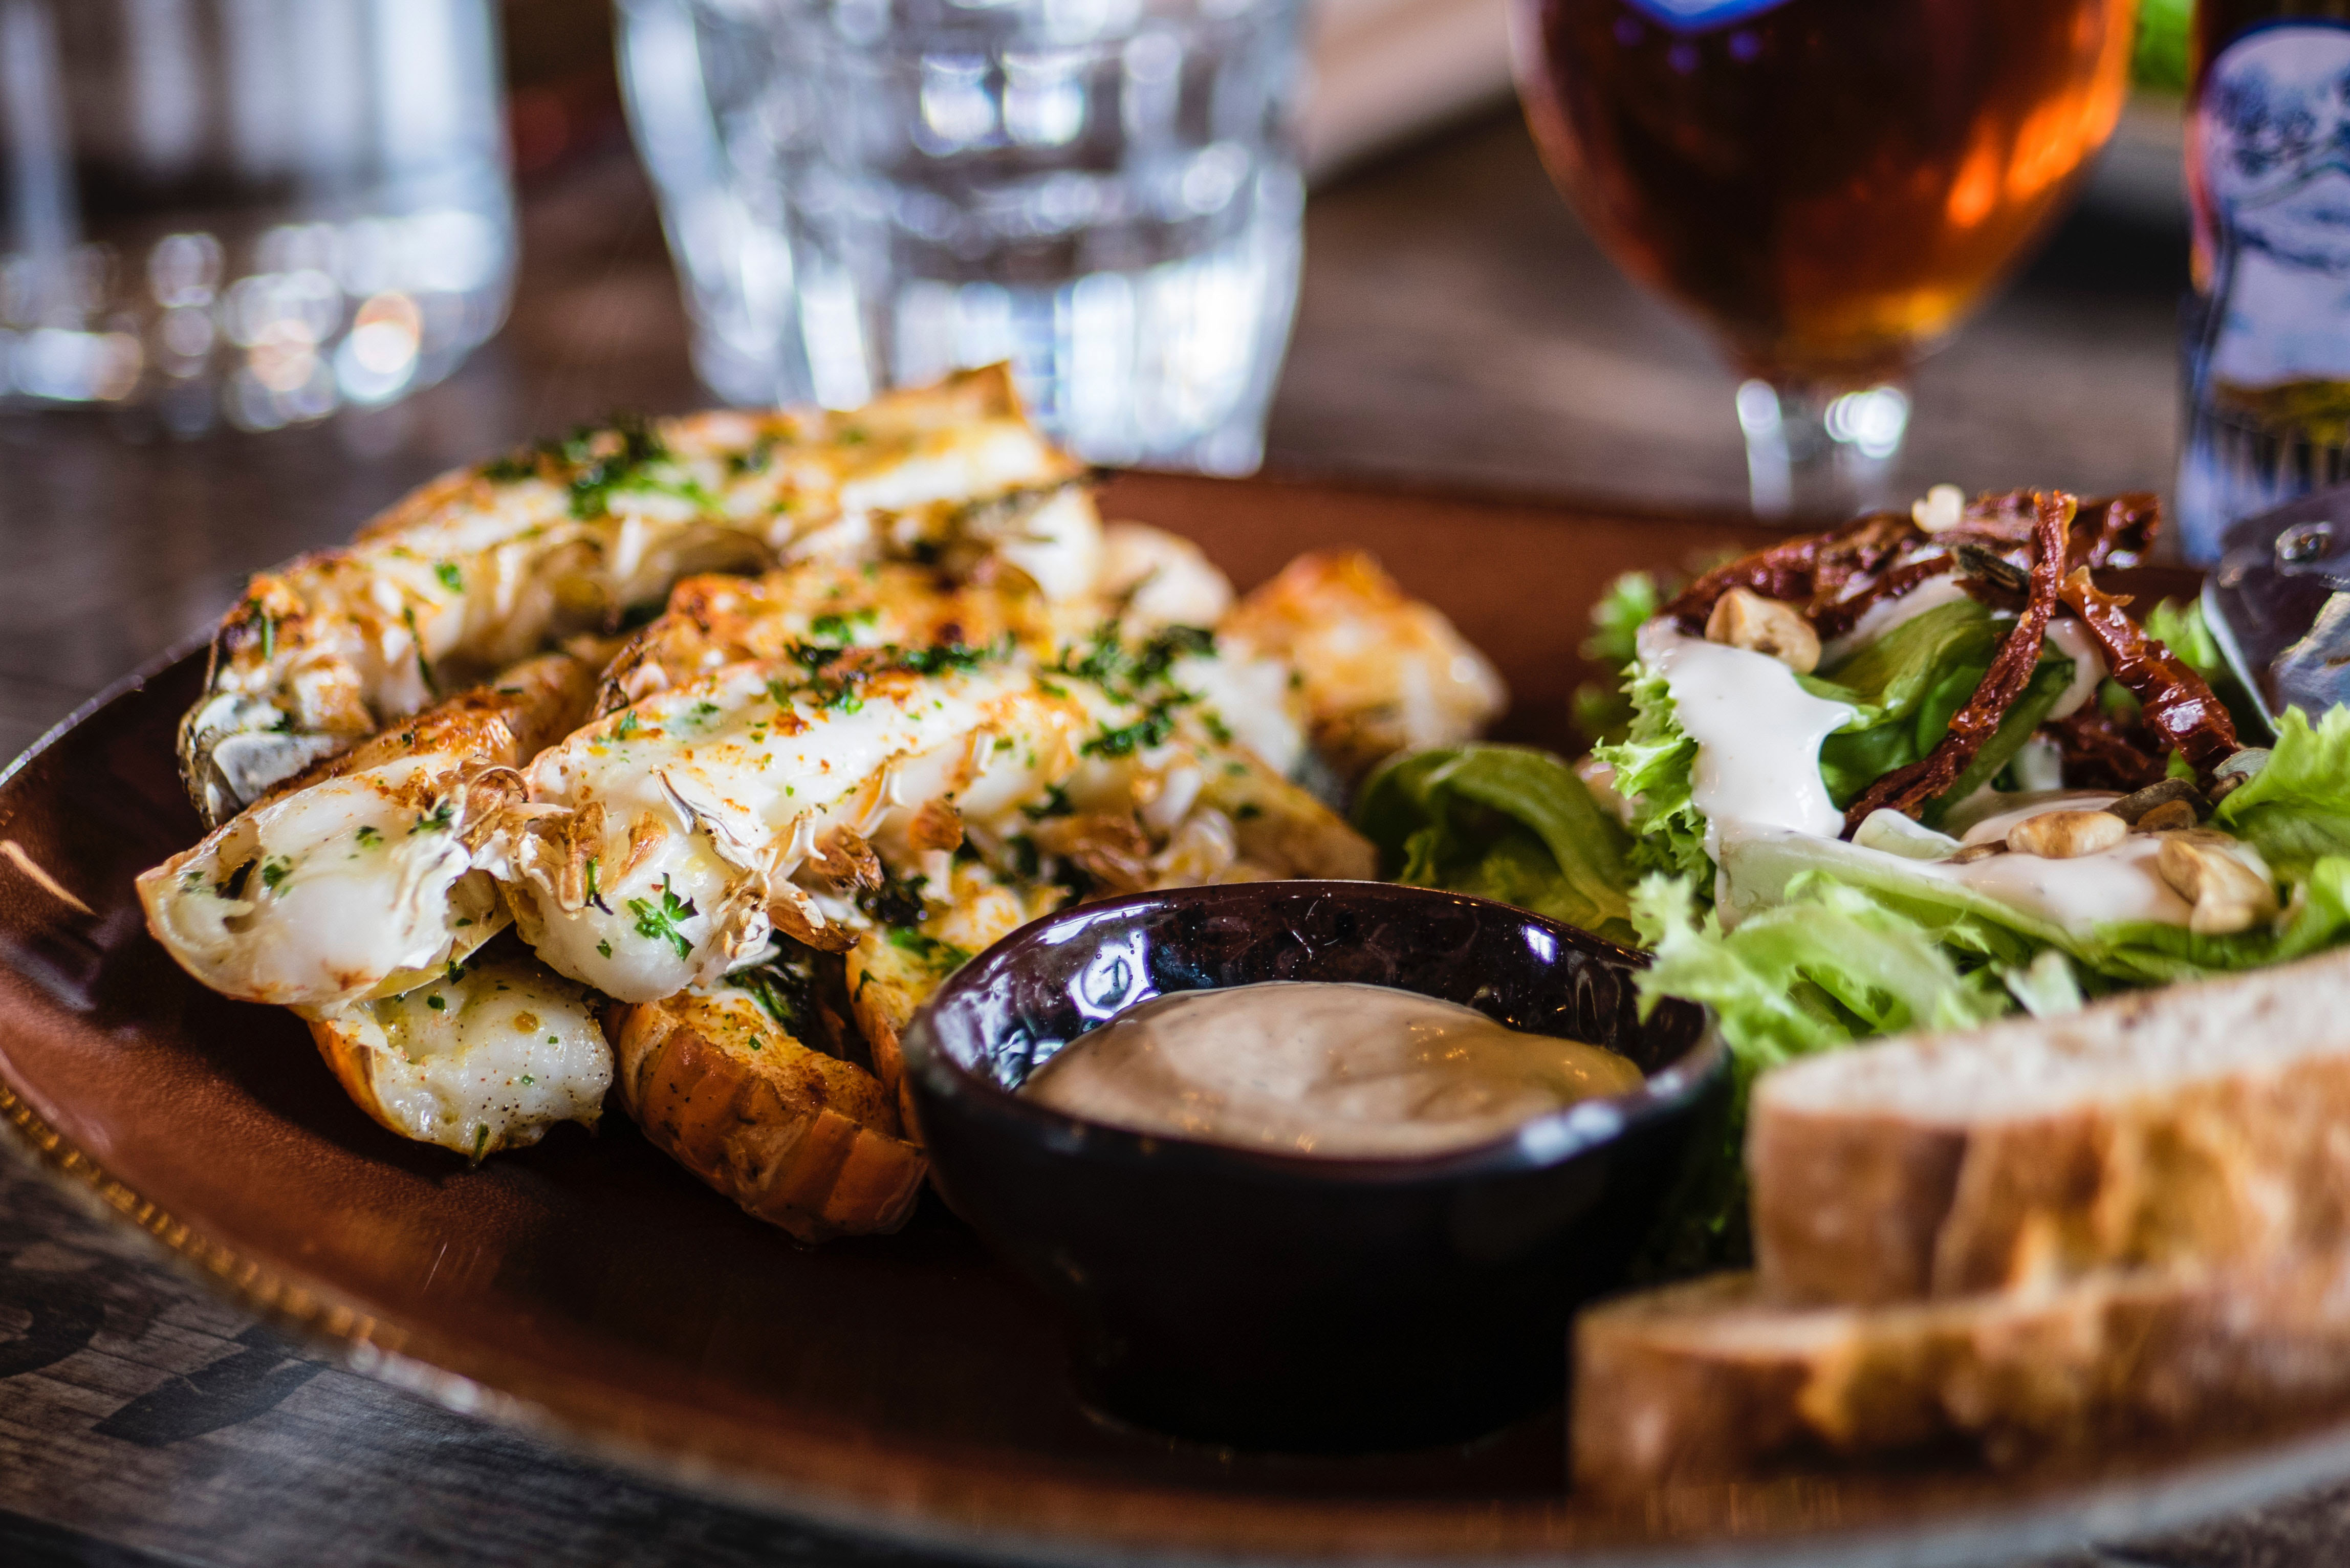
Christmas dinner is your perfect opportunity to practice your food photography skills. Bring out your macro lens to get the details of the scrumptious dishes. Start by capturing the whole table, then move around quickly to get the closeup shots of the dishes.
A few tips for capturing Christmas dinner:
- Start early. Get ready when the meal is still being prepared, so you can spring into action once the dishes are all laid out
- Capture the preparation. Sneak some shots for any meal that’s ready to be served before they’re brought to the table to save time. But not only the food, capture the work and process as well. The host will be grateful to have everything documented
- Move fast. Nobody is that patient when it comes to food, and they won’t be happy if they have to wait too long to start dinner
- Once you’ve got the shots, put your camera away and enjoy dinner!
If you need a few more detailed tips, out our food photography tips for beginners article can help you get started.
Family interaction
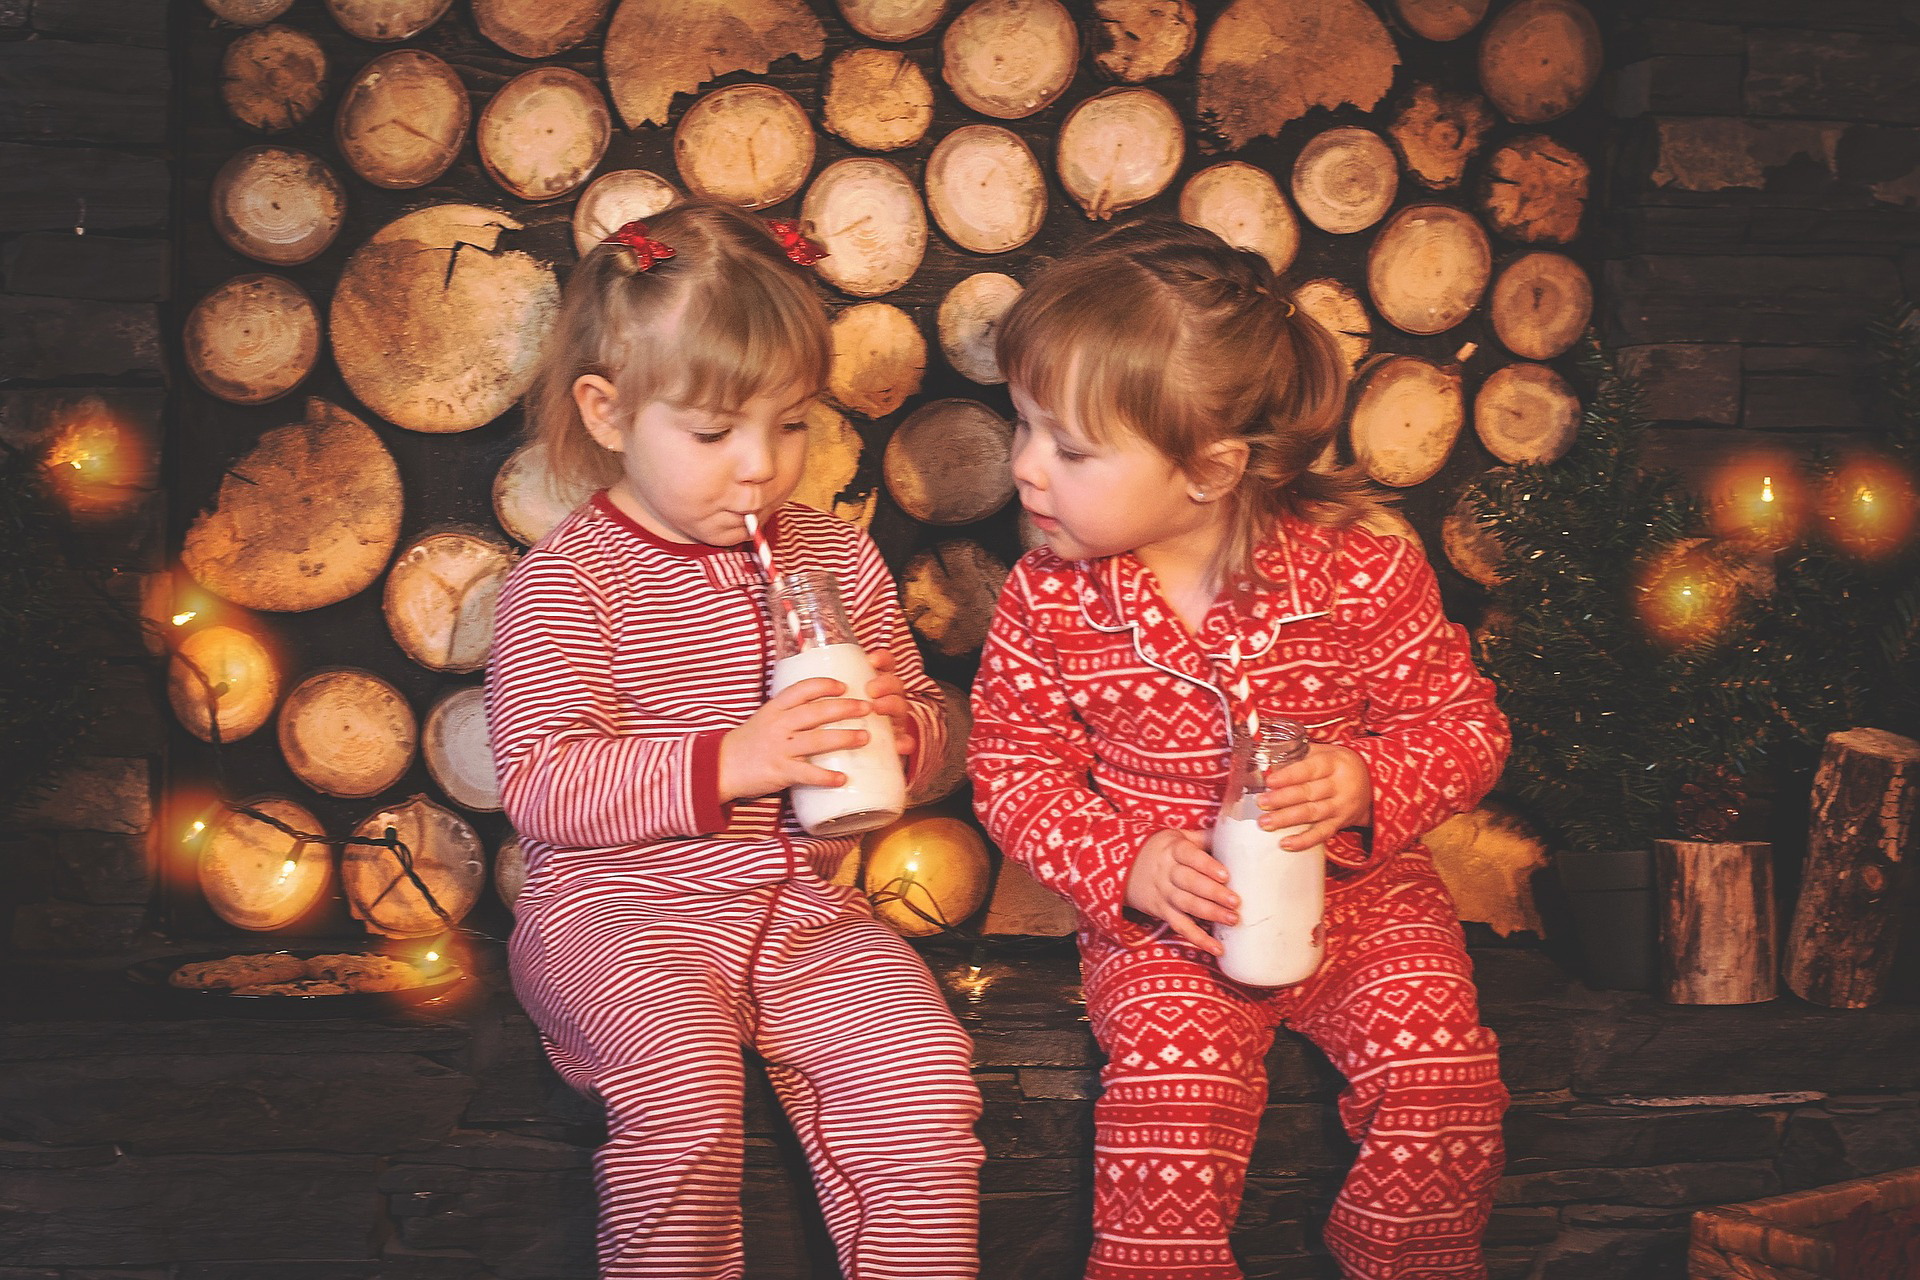
Christmas is the time of year when you get to spend time with family and relatives you might not see often throughout the year due to your busy schedules. On the rare occasion that you’re together, savor the moment and get the camera ready to capture these precious moments. Watch as your parents play with your kids, how the kids’ faces light up when they see their favorite aunts and uncles and sneak a few snapshots you know you’ll cherish in a few year’s time.
Family portraits
In years to come, it will be fun to see how the kids grow up each year. Start a tradition of taking family portraits during Christmas. Make it more fun by coordinating the outfit (whether it’s the formal Sunday outfit or Christmas sweater/PJs, all will be fun!).
If you need a few tips on capturing good family photos (candid or not), check out our family photography tips and family photo ideas.
Camera tips:
Set your White Balance
Shooting indoors can be tricky for your white balance, especially with the yellow lights. When shooting indoors, set your white balance to ‘tungsten’ or ‘indoor’ to avoid getting your images too yellow.
Using high ISO when necessary is okay
Ideally, you’d want to set the ISO as low as possible. But when capturing things indoors, you’re at risk of getting blurry photos if you choose to stick to low ISO.
For important and candid moments when you can’t afford to get blurry images (think of the kids unwrapping presents or Christmas dinner), it’s okay to sacrifice the ISO for a faster shutter speed. Start with ISO 400, and gradually increase it as necessary. Try not to exceed ISO 1600 if possible, but if you don’t mind a little bit of grain, you can stretch it to 3200 or 6400.
Use a tripod
As you’ll be shooting a lot indoor, a tripod will be a huge help for you. Either for taking photos of the Christmas tree when you want your camera to be as stable as possible, or when you don’t want to be left out in the group shots, a tripod will be your new best friend.
Another fun idea that you can try with a tripod is a time-lapse video. Place it at a spot where it can frame most of the activity, and leave it there while you chat and have fun with the family. The result might amuse you!
After all your hard work capturing these stunning Christmas images, don’t let them stay on your camera or laptop. Create a beautiful photobook to document your family’s Christmas!


Be the first one to comment